
Leather Bag Care: Simple Routines to Keep Leather Supple
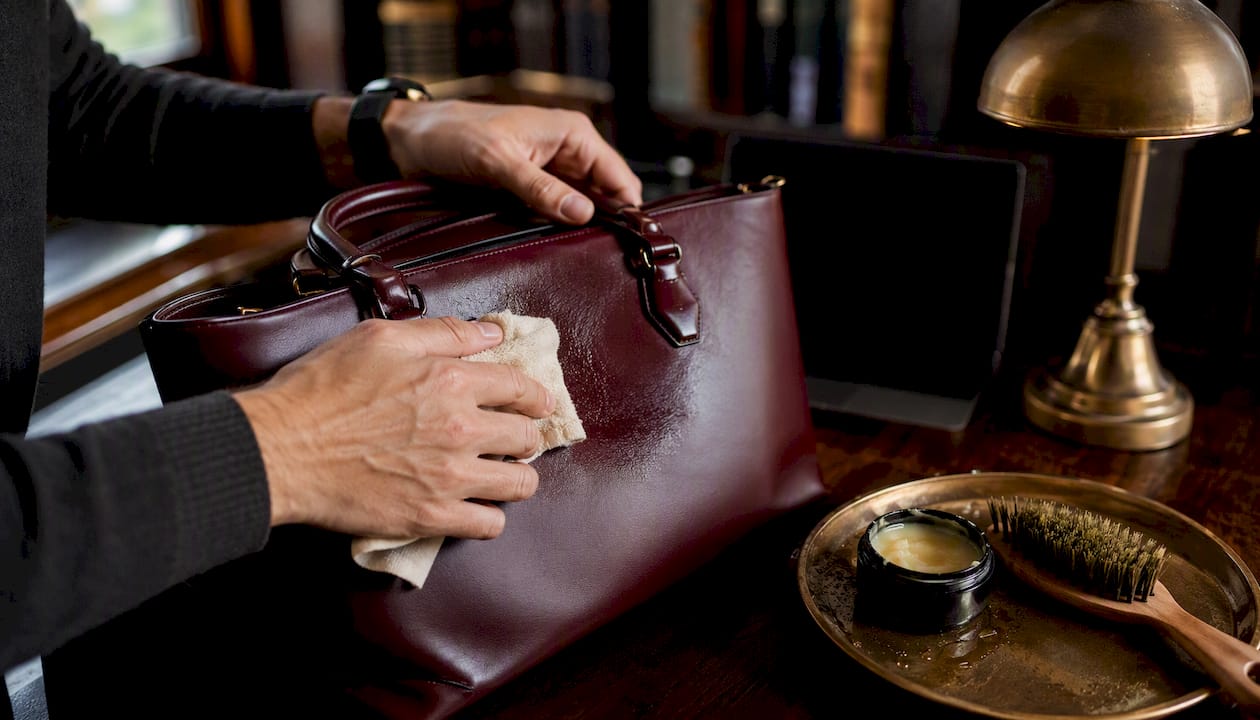
The routine that keeps a leather bag looking new for decades is simple: wipe it down weekly, spot-check monthly, and condition every three to six months. That’s the whole formula. Everything else in leather bag care is a variation on those three habits, plus knowing what never to reach for.
Here’s the quick checklist to start today:
- Wipe with a dry microfiber cloth after each use to remove dust and oils.
- Spot-inspect seams, corners, and hardware once a month for early wear.
- Condition every 3 to 6 months with a leather-specific cream, applied thin.
- Store upright in a breathable dust bag, stuffed to hold shape.
Two things to avoid immediately: never use bleach, ammonia, or soak the leather in water, and never attempt a deep, oily, or heavily pigmented stain yourself. Those go to a professional.
Pro Tip: Set a phone reminder for the first of every third month. Leather doesn’t announce when it’s drying out until it’s already cracking, so a fixed schedule beats waiting for visible signs.
Key Takeaways
Consistent, low-effort maintenance, weekly dusting, monthly inspection, and conditioning every three to six months, does more to preserve a leather bag than any single deep-clean ever will.
| Point | Details |
|---|---|
| Identify leather type first | Test with a water drop and match cleaning method to finished, unfinished, or suede leather. |
| Clean gently, dry first | Dust with a soft cloth before introducing any moisture, and always patch-test new products. |
| Condition on a schedule | Apply pH-balanced conditioner every 3 to 6 months, thin layers only, buffed after absorption. |
| Store upright and breathable | Use a dust bag with tissue stuffing, and never hang a bag by its handles. |
| Know when to call a pro | Oily, pigmented, or structural damage needs professional repair, not repeated home attempts. |
| Shop with care in mind | Mytotaltake’s curated accessories page covers care essentials worth pairing with this routine. |
Table of Contents
- Identifying Your Leather Bag’s Type Before You Clean It
- What Daily and Weekly Habits Actually Protect the Leather
- How to Clean a Leather Handbag Without Damaging It
- When and How to Condition Leather Properly
- How Do You Remove Common Stains From Leather?
- Storing a Leather Bag So It Keeps Its Shape
- When Should You Take a Leather Bag to a Professional?
- Why Leather Bag Care Is Really About Long-Term Value
- Where to Find Care Products and Accessories Worth Trusting
- Sources
Identifying Your Leather Bag’s Type Before You Clean It
Not all leather takes the same treatment, and guessing wrong can permanently damage a bag; for more details on caring for different types of leather, see Mastering the Art: Understanding Leather Types and Cleaning Demands. Finished leather has a protective coating and resists water; unfinished leather absorbs it. Run a quick test: dab a drop of water on an inconspicuous spot. If it beads up, the leather is finished and can handle a lightly damp cloth. If it darkens and soaks in, you’re dealing with unfinished or aniline leather that needs a drier approach.
Texture matters too. Smooth and pebbled-grain leathers tolerate gentle wiping. Suede and nubuck need a soft brush instead of moisture. Patent and lacquered finishes call for their own specialized conditioners rather than standard creams, since they’re built to preserve shine rather than nourish the hide.
- Smooth/finished: wipe with barely damp cloth, condition normally.
- Suede/nubuck: brush only, never wet.
- Patent/coated: gentle wipe, lacquer-specific product only.
Pro Tip: Always patch-test any product on the underside of a strap or an inside seam first. One wrong cleaner can bleach a spot you’ll see every time you carry the bag.
What Daily and Weekly Habits Actually Protect the Leather
Most leather damage isn’t dramatic. It’s slow accumulation from ink pens rattling in the bottom, hand lotion transferring onto handles, and bags resting on gritty floors. Small habits stop most of that before it starts.
Daily: Handle the bag with clean, dry hands. Keep pens, lipstick, and anything oily in a zippered pouch instead of loose in the main compartment. Avoid setting the bag directly on floors, especially in restaurants or on public transit. Empty it out each night and shake out crumbs or grit that can abrade the lining and, over time, the leather itself.
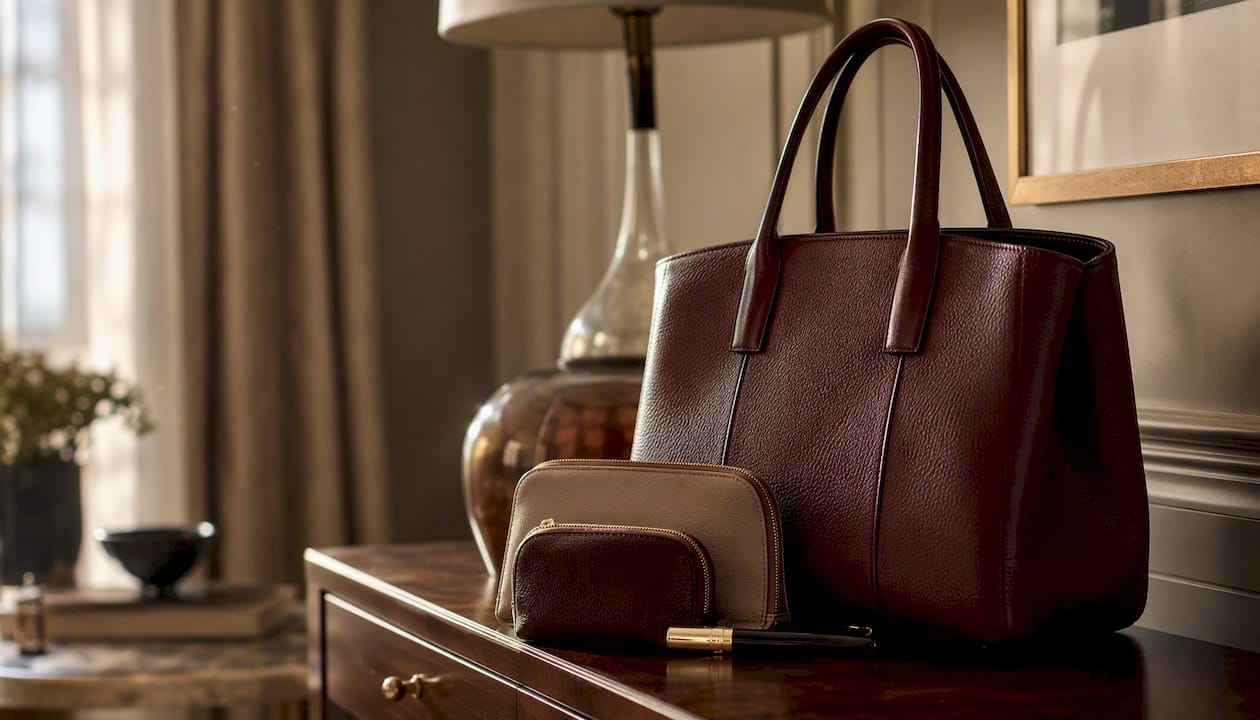
Weekly: Dust the exterior with a soft microfiber cloth. Check seams, corners, and hardware for early signs of loosening or tarnish. Spot-wipe only if there’s visible residue, using distilled water with a trace of mild soap. Avoid tap water, which can leave mineral spots on some finishes.
Rotating between two or three bags rather than carrying one daily cuts wear dramatically, since the leather gets rest between uses. Never overstuff a bag past its natural shape. That stress on seams and handles is one of the most common causes of premature sagging.
- Do: rotate bags, keep pouches for messy items, dust weekly.
- Don’t: overstuff, set the bag on rough or wet surfaces, ignore small scuffs.
How to Clean a Leather Handbag Without Damaging It
Light to moderate soiling responds well to a careful home method, and this is the core routine behind most leather bag care. Before touching any liquid, empty the bag completely and use a lint roller or a vacuum’s brush attachment to clear debris from the lining and seams. Check the manufacturer’s care label if the bag still has one. Then patch-test whatever cleaner you’re using on a hidden spot, like the underside of a strap.
Gather the essentials: mild dish soap or a pH-neutral leather soap, distilled water, two clean white microfiber cloths, a soft-bristle brush for tight seams, and isopropyl alcohol on standby for ink spots.
- Dry dust first. Wipe the entire bag with a dry cloth to remove surface dust before introducing any moisture.
- Mix a barely damp solution. A few drops of mild soap in distilled water is enough. Dampen one cloth, wring it out until it’s nearly dry.
- Wipe in small sections. Work one panel at a time, using light pressure. Dab, don’t rub. Scrubbing can push soil deeper into the grain or wear down finish.
- Blot with the second dry cloth to lift residual moisture immediately.
- Air-dry away from heat. No radiators, hair dryers, or direct sun. Heat pulls moisture out too fast and causes stiffness or cracking.
- Condition only once fully dry, never on damp leather.
A pH-neutral leather cleaner works better than dish soap for delicate or high-value pieces, since dish soap can strip natural oils with repeated use. For everyday bags, mild dish soap in small amounts does the job safely. Never use bleach, ammonia, baby wipes, or excessive water. Baby wipes in particular often contain alcohol and fragrance that dull finish over time.
Pro Tip: Many restorers and high-end brands recommend trying the driest method first, since most finished leathers only need light attention to look presentable. Reach for moisture only when dusting alone doesn’t cut it.
When and How to Condition Leather Properly
Frequently used bags need conditioning every three to six months, more often in dry climates or if the leather starts to feel papery instead of supple. A bag left in a closet most of the year can often stretch that interval longer.
Reach for a pH-balanced commercial leather cream rather than household oils. Neatsfoot oil, mink oil, olive oil, and coconut oil are common home remedies that will actually darken or oxidize the leather over time, sometimes permanently. A linseed oil and white vinegar mix shows up in older DIY guides, but it carries the same oxidation risk on fine leathers and is best reserved for rugged, already-dark work leather rather than a handbag you care about.
Apply conditioner to a soft cloth first, not directly onto the bag. Work it in thin, even layers, let it sit for 5 to 15 minutes, then buff off the excess with a dry cloth. Some hides darken slightly on first application. That’s normal, but it’s exactly why the patch test matters.
- Thumb-flex test: gently flex a corner. If the grain looks dry or shows fine lines, it’s time to condition.
- Skip conditioner right before applying a waterproofing spray. Layering the two can trap moisture underneath.
Pro Tip: Over-conditioning is a real risk. Too much product creates a sticky surface that attracts dirt and can distort structure. The goal is preservation, not saturation.
How Do You Remove Common Stains From Leather?
Different stains need entirely different tools, and using the wrong one is how a small mark becomes a permanent one.
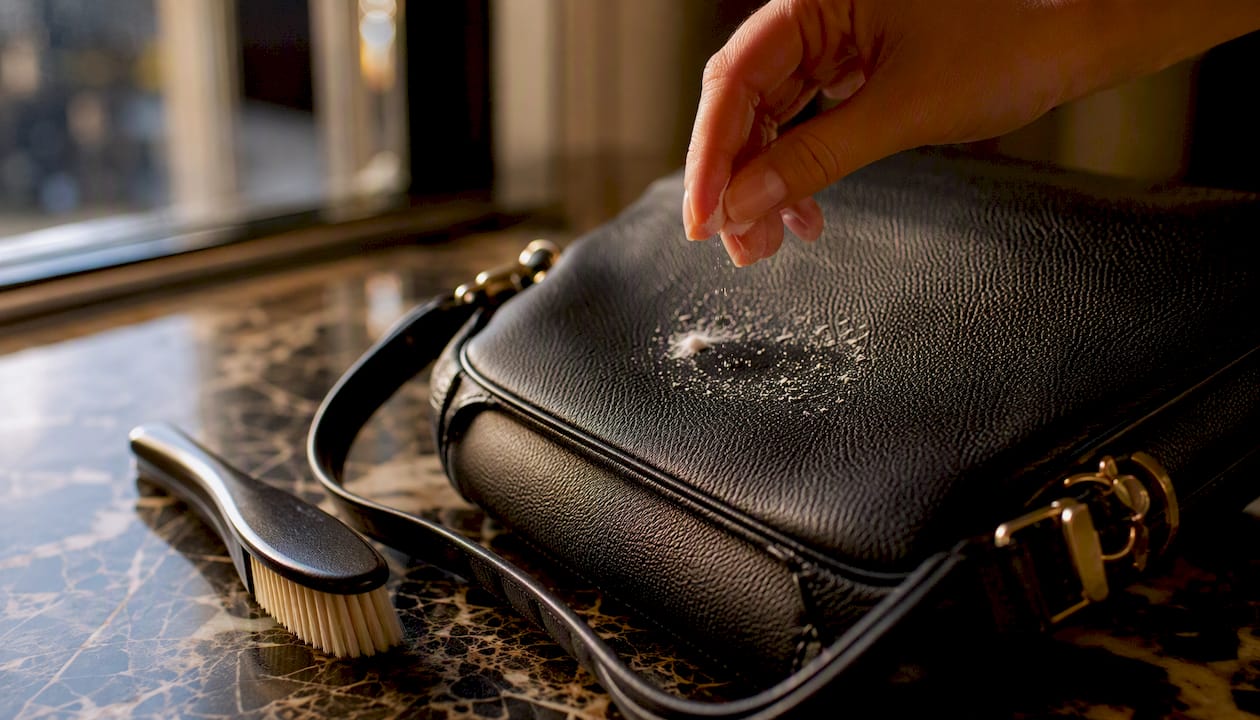
Grease or oil: Sprinkle talcum powder, baking soda, or cornstarch directly on the spot and leave it overnight. The powder draws the oil out as it sits. Brush off gently in the morning and repeat if any shadow remains.
Ink: Dip a cotton swab in isopropyl alcohol and dab, don’t drag, outward from the center of the stain. Patch-test on a hidden area first. If the color starts lifting unevenly rather than just the ink, stop immediately.
Water or wine: Blot standing liquid right away with a clean cloth. Stuff the bag with tissue paper to hold its shape and let it air-dry naturally. If a ring-shaped watermark sets in anyway, that’s a sign to stop and get professional input rather than rubbing at it repeatedly.
Dye transfer (from dark jeans onto light leather, for example): petroleum jelly or a leather-specific color remover can sometimes lift transfer on lacquered or patent finishes. Test on a hidden spot before committing. Deep dye transfer on unfinished leather often needs professional color leveling rather than a home fix.
What never belongs on leather: acetone, nail polish remover, bleach, or aggressive scrubbing with a brush. These strip finish and can permanently discolor the hide.
Stop and call a professional if you’re facing an oily, deeply pigmented stain, a mark that’s spread rather than lifted after one attempt, or any stain on suede or unfinished leather that hasn’t responded to gentle brushing.
Pro Tip: Handbag restoration specialists consistently point out that oily and heavily pigmented stains are the ones that go wrong at home. One careful attempt is reasonable. A second and third attempt usually just spreads the damage.
Cleaning Hardware Without Harming the Leather
Zippers, clasps, and studs need their own gentle routine, separate from the leather itself.
- Slip a thin strip of tissue or tape between the hardware and the surrounding leather to shield it.
- Apply a small amount of metal polish to a cotton swab, not directly to the hardware, and work in short passes.
- Buff dry with a soft cloth immediately. If the hardware is removable, take it off and clean it separately for full control.
Pro Tip: Metal polish that touches leather can leave a chemical stain that’s harder to fix than the tarnish you started with. Patience with the tissue barrier pays off.
Storing a Leather Bag So It Keeps Its Shape
Storage habits matter as much as cleaning, and this is where a lot of otherwise well-maintained bags go wrong. For everyday storage, keep the bag upright rather than on its side, and never hang it by the handles, which stretches the leather permanently over time. Stuff it with acid-free tissue paper or cotton inserts to hold its silhouette, and keep it inside a breathable dust bag. A cotton pillowcase works in a pinch if the original dust bag is missing.
For long-term storage, clean and condition the bag first so it isn’t sealed away dirty. Skip plastic bags entirely, since they trap moisture and invite mildew. Aim for 40 to 60 percent relative humidity where possible, and drop in a few silica packets during humid months. Check on stored bags every few months rather than forgetting them for a year.
- Never stack bags on top of each other or compress them into tight shelving.
- Wrap hardware in soft cloth to prevent it from imprinting into the leather.
- Rotate which bags sit in prime storage spots so none goes untouched for too long.
Pro Tip: If you’re storing bags in a space that also handles humidity swings, like a closet against an exterior wall, apply the same climate-control thinking you’d use for outdoor furniture and other humidity-sensitive materials.
When Should You Take a Leather Bag to a Professional?
Some damage is beyond safe home repair, and knowing where that line sits saves you from making things worse. Get professional help for oily or heavily pigmented stains that have set in, deep cracks in the grain, color loss spreading across large panels, detached straps or broken structural stitching, or mildew that’s spread beyond a small spot.
Professionals can offer color leveling, deep cleaning beyond what home methods reach, structural stitching, and hardware replacement. Their capabilities vary by shop, so ask for a photo estimate before committing to drop-off.
Professional restorers consistently note that trial-and-error on oily or deeply set stains tends to create tide marks and irreversible damage that a first, correct treatment would have avoided.
Before you go in, photograph the damage clearly, note the leather type if you know it, and mention any home treatments you’ve already tried. That context helps a specialist choose the right method the first time.
Pro Tip: Ask for a written estimate with expected turnaround before leaving your bag. Reputable leather repair specialists will give you both without hesitation.
Why Leather Bag Care Is Really About Long-Term Value
Treat a well-made leather bag the way you’d treat any investment piece, because that’s essentially what it is. The habits in this guide, wiping, spot-checking, conditioning on schedule, aren’t about chasing perfection. They’re about preventing the slow decline that turns a bag you love into one you stop carrying.
Prevention beats cure every time in leather care. A five-minute wipe-down after a rainy commute costs nothing. A watermark left to set for a week can mean a trip to a specialist and a bill you didn’t plan for. Owners who follow a simple, consistent maintenance schedule get meaningfully more years out of a bag, and the leather actually looks better for it, developing the kind of patina that only comes from being used and cared for, not neglected.
If you’re weighing what makes one leather good worth the higher price tag in the first place, it helps to understand what separates real craftsmanship from the rest before you even start a care routine.
Where to Find Care Products and Accessories Worth Trusting
Good leather deserves products that match its quality, not whatever’s cheapest on the shelf. Mytotaltake curates accessories and care essentials for people who think of their bags, and the rest of their wardrobe, as long-term pieces rather than disposable ones.

If you’re shopping for a conditioner, dust bags, or storage inserts to pair with the routine above, start with premium accessories built to last, a category built around exactly the kind of quality that rewards the maintenance effort you’re already putting in. And if you’re in the market for a new bag rather than just caring for an old one, it’s worth reading what actually makes upscale products worth buying before you spend. Browse the current selection and see what fits your everyday rotation.
Sources
- Leather Care Tips & Maintenance Guide | TLL
- How to Clean a Leather Purse (The Spruce)
- How To Clean a Leather Bag, According to Handbag Experts
- A Complete Step-By-Step Guide: How To Clean Leather Bags – CHARLES & KEITH US
Recommended
Your Guide to Premium Coffee Brewing Gear
Comments
[…] you want a broader routine for leather goods beyond wallets, from bags to belts, Mytotaltake’s leather care guide walks through the same conditioning and storage principles in more depth. And for care and storage […]











Leave a comment