
Leather Jacket Care: Keep Your Jacket Supple and Protected
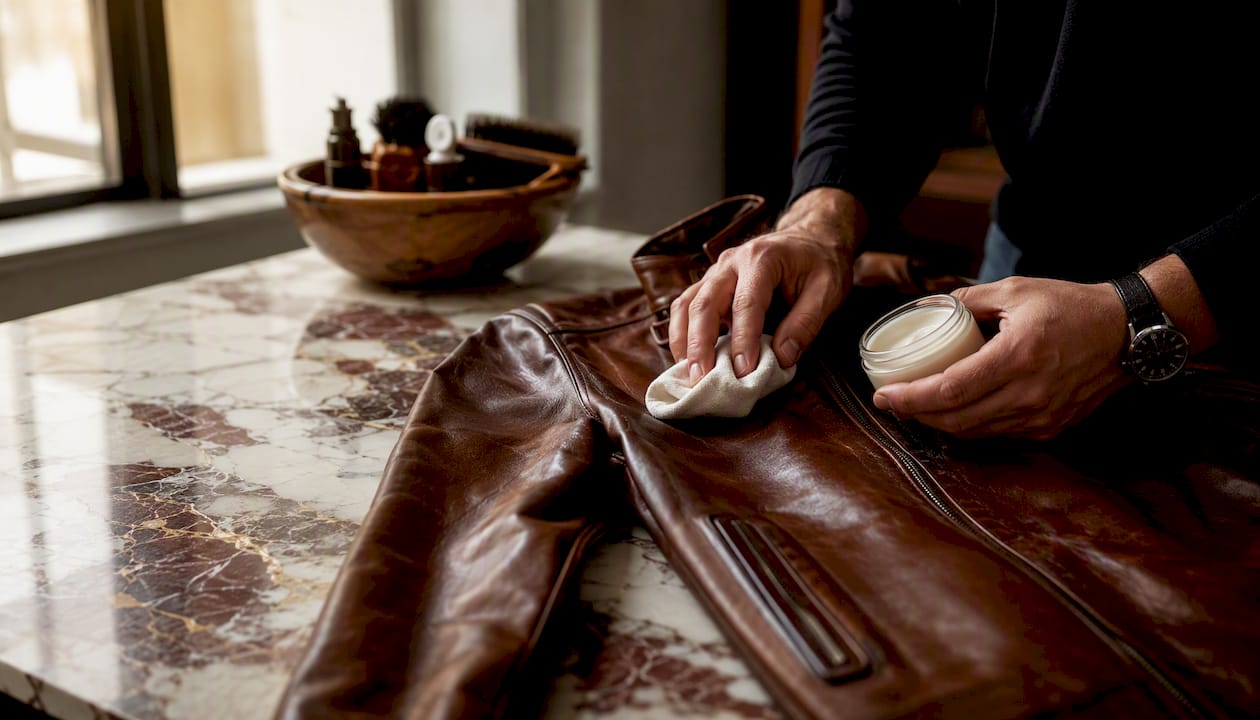
You can safely maintain a leather jacket at home for routine upkeep: wipe the surface with a microfiber cloth, spot-clean with a mild soap solution or a pH-neutral leather cleaner, air-dry completely, and condition regularly, ideally twice a year. For heavy staining, cracking, or any high-value piece, hand it to a professional leather care specialist.
Supplies to keep on hand:
- Microfiber cloths (two: one for cleaning, one for buffing)
- Mild soap or a pH-neutral leather cleaner
- Leather conditioner (cream or balm for smooth leather; specialized spray for suede/nubuck)
- Cornstarch or baking soda (for oil stains)
- Wide, padded or wooden hanger
- Breathable garment bag
Pro Tip: Before applying any cleaner, conditioner, or protector, test it on a hidden area — the inside hem or under an arm — and wait a few minutes. If the color or texture changes, stop. This single habit prevents most irreversible damage.
Warning: Never machine wash or fully submerge a leather jacket. Avoid bleach, ammonia, and alcohol-based products. Never use a hairdryer, radiator, or direct sunlight to speed up drying.
Key Takeaways
Proper leather jacket care comes down to five consistent habits: test before you apply anything, blot rather than rub, never machine wash, condition on a schedule, and call a professional before a problem becomes permanent.
| Point | Details |
|---|---|
| Test every product first | Apply to a hidden area and wait three minutes before using on the full surface. |
| Never machine wash | Submersion strips natural oils and warps structure; spot-clean with a damp cloth instead. |
| Condition every 6–12 months | More often in dry climates or after heavy rain; signs of need include matte finish and stiffness. |
| Store on a padded hanger | Use a breathable garment bag, not plastic, in a cool, dry location away from sunlight. |
| Seek a professional for major issues | Set-in ink, cracked leather, heavy mold, or vintage pieces require specialist care. |
Table of Contents
- What leather type do you have, and why does it matter?
- How to clean a leather jacket safely at home
- How do you remove specific stains from leather?
- How often should you condition leather, and how do you do it right?
- How to clean the lining and get rid of odors
- Mistakes that permanently damage leather — and what to do instead
- How to dry a wet jacket and store it so it lasts for decades
- When should you take your jacket to a professional?
- A maintenance schedule you can actually follow
- Caring for investment and designer leather pieces
- How do you prevent and repair cracks and scratches?
- How do waterproofing sprays and protective coatings work?
- How do you restore aged or faded leather?
- How do you handle color transfer and fading?
- How should you maintain zippers, buttons, and other hardware?
- Why careful leather care is the most underrated investment you can make
- Elevate your leather care with Mytotaltake
- Sources
What leather type do you have, and why does it matter?
Not all leather responds the same way to cleaning products, and using the wrong method on the wrong hide can cause permanent damage. Identifying your jacket’s leather type takes thirty seconds and saves you from a costly mistake.
Common leather types at a glance:
- Full-grain leather: The most durable grade, with the natural surface intact. It develops a patina over time and tolerates gentle cleaners well.
- Top-grain leather: Sanded and treated for a uniform finish. Slightly less breathable than full-grain but still responds well to standard leather care products.
- Finished/coated leather: Has a polymer coating that makes it more resistant to moisture and stains. The easiest to clean at home.
- Aniline leather: Dyed with no surface coating, so it absorbs liquids almost instantly. Highly sensitive to water, cleaners, and oils.
- Suede and nubuck: Buffed to a soft nap. Suede and nubuck must never be cleaned with standard leather creams or waxes; use specialized suede brushes and erasers instead.
- Bonded leather: Reconstituted leather fibers pressed onto a backing. The least durable grade — prone to peeling and not suited to oil-based conditioners.
| Leather type | Safe cleaners | Recommended conditioner | Avoid |
|---|---|---|---|
| Full-grain / top-grain | pH-neutral leather cleaner, mild soap | Cream or balm conditioner | Alcohol, bleach, heat |
| Finished/coated | Mild soap solution, leather foam | Light lotion conditioner | Abrasive cloths |
| Aniline | Distilled water only; pro cleaning preferred | Aniline-specific conditioner | Any standard cleaner |
| Suede / nubuck | Suede eraser, suede brush, suede spray | Suede-specific protector spray | Creams, waxes, water |
| Bonded | Damp cloth only | None recommended | Oil-based products |
Pro Tip: When you genuinely cannot identify the leather type, default to the gentlest possible method: a barely damp microfiber cloth with distilled water. For aniline or vintage pieces, skip DIY entirely and go straight to a professional.
How to clean a leather jacket safely at home
Routine leather jacket care at home follows a consistent sequence. Skipping steps, especially the test and the residue-removal stages, is where most people run into trouble.
What you need:
- Two microfiber cloths
- Soft sponge
- Mild soap or pH-neutral leather cleaner
- Distilled water
- Soft-bristle brush (for seams and hardware)
- Leather conditioner
Step-by-step cleaning process:
- Inspect the jacket under good light. Note stains, scuffs, and hardware condition before you touch anything.
- Dust the surface with a dry microfiber cloth, working from shoulders down. Pay attention to seams and pockets where debris collects.
- Spot-test your cleaner on a hidden area. Wait three minutes and check for color change or texture shift.
- Spot-clean any stained areas first. Apply cleaner to the cloth, not directly to the leather, and work in small circular motions.
- Wipe the whole jacket (if needed) with a slightly damp microfiber cloth and distilled water. Distilled water prevents the mineral spots that tap water can leave on lighter hides.
- Remove soap residue with a second clean, damp cloth. Residue left on the surface can dry and dull the finish.
- Air-dry on a wide, padded hanger at room temperature. Never apply heat.
- Condition once the jacket is fully dry. A jacket conditioned while still damp can trap moisture inside the leather.
For the lining: Turn the jacket inside out. Dampen a cloth with a mild detergent solution, blot the lining gently, and allow it to air-dry completely before turning the jacket right-side out again.
Pro Tip: Blot, never rub. Rubbing spreads the stain and can abrade the surface finish. A gentle blotting motion lifts the problem; friction makes it permanent.
How do you remove specific stains from leather?
Different stains call for different responses, and the speed of your reaction usually determines whether a DIY fix works.
Grease and oil:
Blot the excess immediately with a clean cloth. Cover the stain with cornstarch or baking soda and let it sit for several hours, or overnight if possible. The powder draws the oil out of the leather. Brush it off gently and follow with a mild cleaner if a residue remains. Do not rub the powder in; that pushes the oil deeper.
Ink:
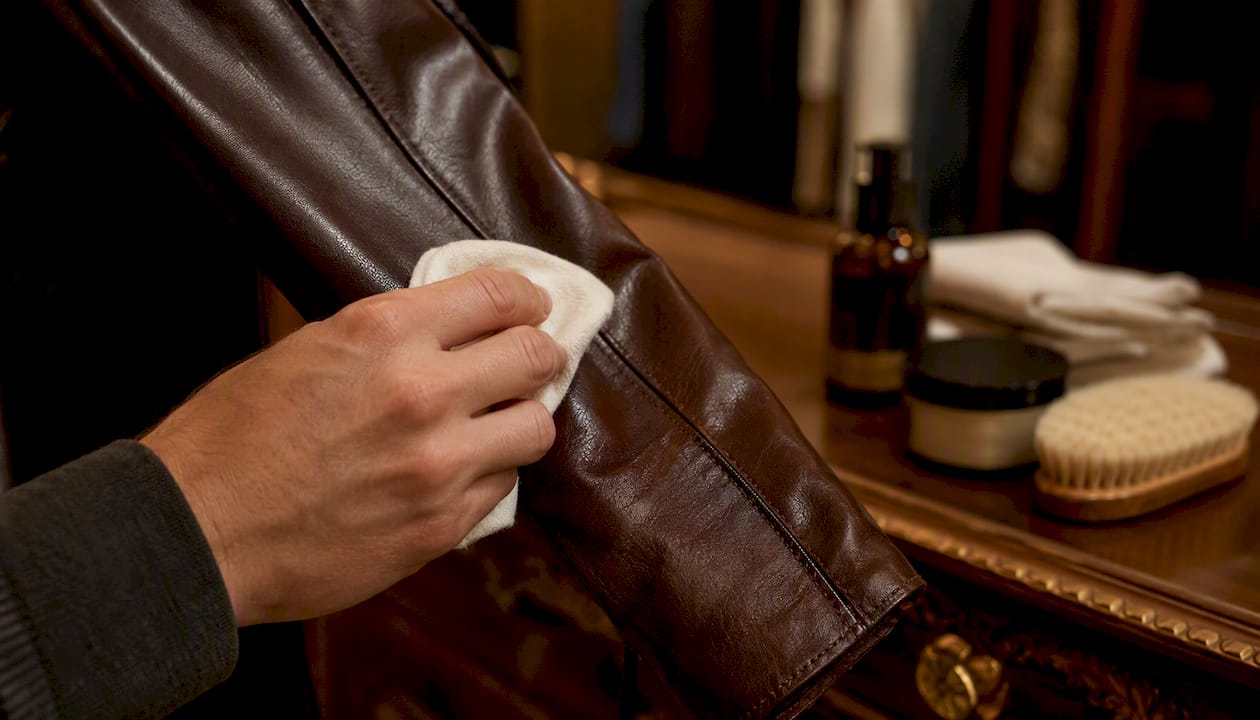
Blot immediately. Do not rub. A cotton swab lightly dampened with rubbing alcohol can lift fresh ink on finished leather, but only after testing on a hidden spot first. Set-in ink on aniline or suede is a job for a professional — no DIY solvent is safe enough to risk on those surfaces.
Water and salt stains:
Blot the moisture, then lightly dampen the surrounding area with a clean cloth to blend the waterline. Salt from roads or winter boots needs diluting: wipe with a cloth barely moistened with plain water, working from the outside of the stain inward. Air-dry fully, then condition. Scrubbing a salt stain concentrates it rather than removing it.
Mildew and mustiness:
Move the jacket to a well-ventilated space immediately. Brush the surface lightly with a soft brush to remove spores. Spot-clean the affected area with a mild soap solution, then air-dry thoroughly. For heavy mold growth, professional cleaning is the safer call — mold can penetrate the hide and return if not fully treated.
Scuffs and light scratches:
Buff gently with a soft cloth. A small amount of leather conditioner applied to the scuff and worked in with a circular motion often reduces its visibility on finished leather. Deeper cracks need professional repair; no consumer product fills a structural crack without risk of color mismatch.
Pro Tip: Act within the first few minutes of a stain. The longer oil, ink, or salt sits in the leather’s pores, the less likely a safe home fix becomes.
How often should you condition leather, and how do you do it right?
Conditioning restores the natural oils that keep leather supple, slows the formation of surface cracks, and adds a modest layer of water resistance. Think of it as moisturizer for the hide.
Product categories:
- Cream and balm conditioners: Oil-rich formulas that penetrate deeply. Best for full-grain and top-grain leather.
- Lotion or water-based conditioners: Lighter, less likely to darken the leather. Good for lighter-colored or finished hides.
- Wax-based protectors: Sit on the surface and add a layer of water resistance alongside conditioning.
- Suede and nubuck sprays: The only appropriate conditioner for napped leathers. Never use a cream or balm on suede.
Application steps:
- Confirm the jacket is completely dry before you begin.
- Test the conditioner on a hidden area and wait three minutes.
- Apply a small amount to a clean microfiber cloth, not to the leather directly.
- Work in circular motions across one panel at a time.
- Allow the conditioner to absorb for ten to fifteen minutes.
- Buff off any excess with a dry cloth. Residue left on the surface attracts dust and can weaken stitching over time.
Frequency: Conditioning every few months suits most regular wearers. Condition more often in dry climates, after heavy rain exposure, or when the leather starts to look matte, feel stiff, or show hairline surface cracks. Those three signs mean the hide is losing moisture.
Warning: Over-conditioning is a real risk. Excess oil can darken leather permanently, soften the structure, and seep into stitching and hardware areas, accelerating corrosion. Less is more — a thin, even coat absorbed fully beats a heavy application wiped off the surface.
Pro Tip: Apply conditioner before long-term storage, not just after cleaning. A well-fed hide resists the drying effect of months in a closet far better than one stored dry.
How to clean the lining and get rid of odors
The lining absorbs sweat, body oils, and ambient smells faster than the leather shell, and neglecting it shortens the jacket’s useful life even when the exterior looks pristine.
Lining care steps:
- Check the care label inside the jacket. If the lining is detachable, remove it and follow its specific washing instructions.
- For stitched linings, turn the jacket inside out and work section by section.
- Dampen a cloth with a mild detergent solution (a few drops of gentle dish soap in lukewarm water).
- Blot the lining gently. Use minimal moisture — the goal is to lift surface soil, not saturate the fabric.
- Follow with a clean damp cloth to remove detergent residue.
- Air-dry fully, jacket turned inside out, before wearing or storing.
Safe odor treatments:
- Hang the jacket in a well-ventilated space for several hours after each wear, especially after physical activity.
- Place baking soda sachets or activated charcoal pouches inside the pockets and zip the jacket closed overnight.
- A light mist of fabric refresher on the lining (not the leather shell) can neutralize mild odors between deeper cleans.
- Avoid saturating the shell with any spray — moisture that soaks through the lining can reach the leather and cause staining or mildew.
Pro Tip: Zip the jacket closed with a baking soda sachet inside each pocket overnight. By morning, persistent smells are typically gone without any moisture touching the leather.
Mistakes that permanently damage leather — and what to do instead
Some errors are recoverable. These are not.
- Machine washing: The agitation, heat, and water volume strip natural oils, warp the structure, and can cause irreversible shrinking and stiffening. Spot-clean instead.
- Full submersion: Even a brief soak can cause the hide to stiffen as it dries. If the jacket gets soaked in rain, blot and air-dry; do not submerge it intentionally.
- Bleach, ammonia, or alcohol (as a first resort): These strip dye and surface finish, causing permanent discoloration. Use pH-neutral leather cleaners.
- Heat drying: A radiator or hairdryer “cooks” the hide, causing brittleness and cracking that no conditioner can reverse. Room-temperature air drying only.
- Abrasive scrubbing: Steel wool, rough sponges, or vigorous rubbing abrade the surface finish. Use soft microfiber cloths and gentle blotting.
- Plastic storage covers: Plastic traps moisture and prevents airflow, creating the ideal conditions for mold. Use a breathable garment bag.
The golden rule of leather care: Always test any product on a hidden area before applying it broadly, and consult a professional for serious stains, structural damage, or vintage and collector pieces. Good Housekeeping’s experts put it plainly: for high-end or heavily soiled jackets, professional leather care is the safer choice. No DIY method is worth risking an heirloom-quality jacket.
How to dry a wet jacket and store it so it lasts for decades
Getting drying and storage right is where most long-term leather jacket maintenance wins or loses.
Drying a wet jacket:
- Blot excess moisture immediately with a dry microfiber cloth. Work from the shoulders down.
- Reshape the jacket and hang it on a wide, padded or wooden hanger to maintain the shoulder structure.
- Place it in a room with good airflow, away from radiators, vents, and windows with direct sun.
- Allow up to 48 hours for a heavily saturated jacket to dry completely. Rushing this step by adding heat causes the hide to stiffen and crack.
- Once fully dry, apply a light coat of conditioner to restore moisture lost during the drying process.
Storage checklist:
- Wide, padded hanger (wire hangers create shoulder dimples over time)
- Breathable garment bag, not plastic
- Cool, dry location with stable temperature
- Away from direct sunlight and heat sources, both of which fade and dry out leather
- Enough closet space so the jacket hangs freely without compression
Hardware care: Dry zippers, snaps, and buckles thoroughly after wet exposure. A light application of zipper lubricant or a dry cloth wipe prevents corrosion on metal hardware. Minor surface rust on snaps can be addressed with a small amount of metal-safe lubricant applied carefully to avoid contact with the leather.
Pro Tip: Condition the jacket before putting it away for a season, and tuck an activated charcoal sachet inside. It absorbs residual moisture and keeps the interior fresh through months of storage.
When should you take your jacket to a professional?
Knowing when to stop and call a specialist is as important as knowing how to clean a leather jacket at home.
Signs a professional is the right call:
- Set-in ink stains that have dried into the hide
- Large oil saturation covering more than a small area
- Cracked, split, or peeling leather (especially on bonded leather)
- Color bleeding or significant fading across panels
- Heavy mold growth that has penetrated the surface
- Vintage, collector, or designer pieces where any misstep reduces value
What to ask before handing over the jacket:
- Can you show before-and-after examples of similar leather types?
- What cleaning solvents and dyes do you use, and are they leather-safe?
- Do you have experience with this specific leather grade (aniline, suede, full-grain)?
- What is the written cost estimate, and what does it cover?
- What is the turnaround time, and how is the jacket stored during treatment?
How to vet a leather specialist: Read reviews on Google and Yelp, request references from previous clients, and confirm the shop has handled jackets of similar value and construction. A reputable specialist will provide a written estimate and a clear treatment plan before touching the garment.
Pro Tip: Photograph the jacket from every angle before dropping it off. Document existing scuffs, color variations, and hardware condition. That record protects you and gives the specialist a clear baseline.
A maintenance schedule you can actually follow
Consistency beats intensity. A few minutes of attention at the right moments keeps a leather jacket in excellent condition for decades, as Harley-Davidson’s care guidance confirms.
Routine timeline:
- After each wear (if sweaty or damp): Hang on a padded hanger in a ventilated space for several hours before storing.
- Monthly: Wipe the surface with a dry microfiber cloth to remove dust and surface oils.
- Every 6–12 months: Full conditioning cycle. More frequently in arid climates or for daily wearers.
- Seasonal (before wet season): Inspect for cracks or stiffness, clean if needed, and reapply a waterproofing protector.
- After salt or road spray exposure: Blot and clean immediately; do not let salt dry into the surface.
| When | Action |
|---|---|
| After each sweaty wear | Air out on a padded hanger; do not store damp |
| Monthly | Wipe with a dry microfiber cloth |
| Every 6–12 months | Full conditioning with cream or balm |
| Before wet season | Inspect, clean, and reapply waterproofing spray |
| After salt/road spray | Blot immediately, wipe with damp cloth, condition |
Daily riders and commuters should condition closer to every six months. Occasional wearers who store the jacket most of the year can stretch to twelve months, provided they condition before and after storage.
Caring for investment and designer leather pieces
For a jacket that represents a significant financial or sentimental investment, the standard advice applies with one important addition: when in doubt, do less.
Good Housekeeping’s experts advise leaving major cleaning and restoration of expensive pieces to a professional leather care specialist. That guidance holds especially for aniline-dyed jackets, vintage pieces, and any garment with hand-stitching or custom hardware.
Luxury-specific practices:
- Preserve provenance: keep original receipts, tags, and any authentication documents with the jacket.
- Photograph the jacket in detail before and after any professional service.
- Avoid experimental DIY restoration products on high-value leather. Conservator-grade products exist, but they require professional application to avoid uneven results.
- Use only products recommended for the specific leather grade — a conditioner safe for coated leather can permanently darken aniline.
Understanding what makes a designer piece worth preserving starts with the material itself. Leather of genuine quality rewards careful stewardship with decades of wear; it does not forgive shortcuts.
Pro Tip: Ask any professional you hire to provide a written treatment record: what products were used, what techniques were applied, and what the condition was before and after. That document adds to the jacket’s provenance and is worth keeping with your receipts.
How do you prevent and repair cracks and scratches?
Prevention is straightforward: condition regularly, avoid heat and prolonged sun exposure, and never store leather in a compressed position. A well-conditioned hide stays flexible and resists the surface fractures that develop when leather dries out.
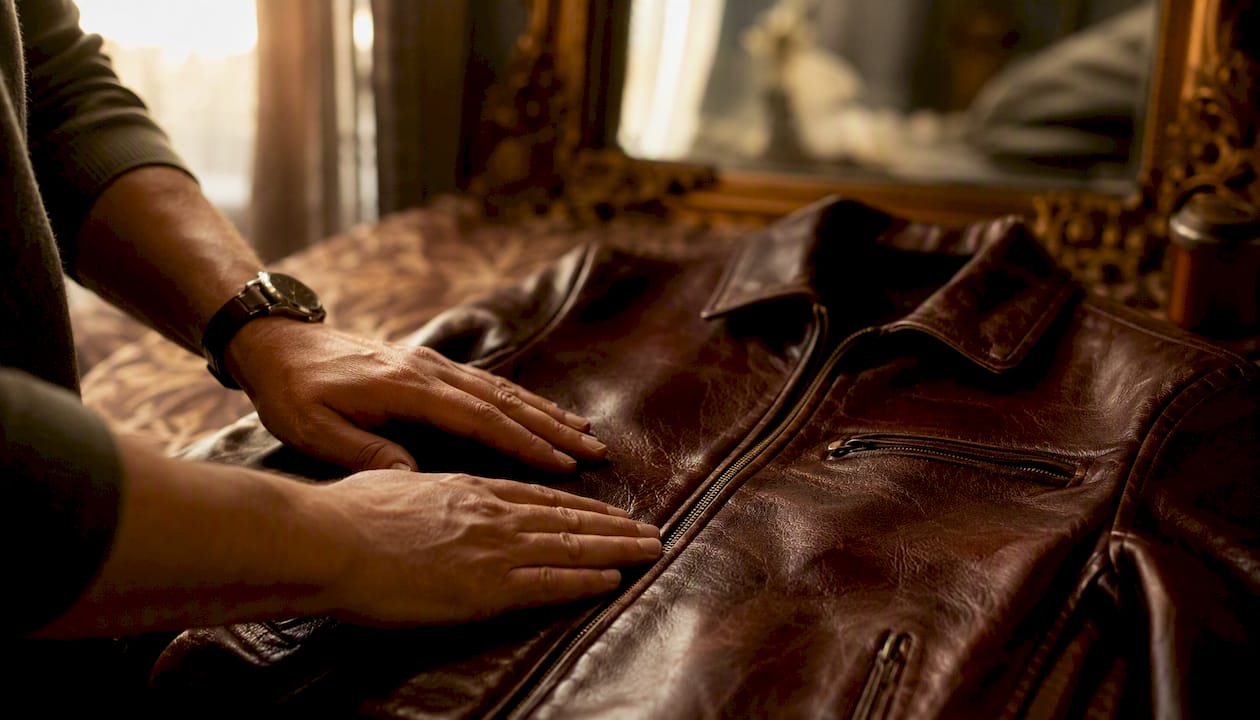
For light surface scratches on finished leather, a soft cloth and a small amount of conditioner worked in with a circular motion often reduces visibility significantly. The conditioner fills the micro-abrasion and restores the sheen around it. Deeper scratches that cut through the finish layer need a leather repair kit matched to the jacket’s color, or better, a professional colorist who can blend the repair invisibly.
Cracks are a different problem. A surface crack that has not yet split the hide can sometimes be slowed with aggressive conditioning and a leather filler product, but structural cracks that go through the leather require professional repair. Attempting to fill a deep crack with a consumer product typically results in a visible patch that hardens differently from the surrounding hide.
How do waterproofing sprays and protective coatings work?
Leather treatments improve water resistance but do not make leather fully waterproof. The practical goal is strong water resistance: water beads on the surface and rolls off rather than soaking in.
Scotchgard Leather & Suede Protector is one of the most widely available options in the US market. It repels water and resists salt stains on smooth leather and suede. The manufacturer recommends reapplying when water no longer beads on the surface, or roughly every six months for items in regular use.
Apply any waterproofing spray to a clean, dry jacket in a well-ventilated space. Hold the can at the recommended distance (typically eight to ten inches), apply an even coat, and allow it to dry fully before wearing. Never apply a spray protector over a damp surface or immediately after conditioning — let each product absorb and dry completely before layering the next.
Wax-based conditioners also provide a degree of water resistance alongside their conditioning benefit, making them a practical two-in-one option for smooth leather in wet climates.
How do you restore aged or faded leather?
Fading is gradual and often subtle until the jacket sits next to a photo from a few years ago. UV exposure, dry storage, and infrequent conditioning all accelerate color loss.
Start with a thorough cleaning and conditioning cycle. Fresh conditioner alone can revive a dull, slightly faded jacket by restoring the oils that carry the leather’s natural depth of color. If the result is still noticeably flat, a leather recoloring balm matched to the original shade can restore vibrancy. These products work by depositing a thin layer of pigment that bonds to the leather surface.
For significant fading or uneven color loss across panels, professional re-dyeing is the reliable option. A skilled colorist can match the original shade, apply it evenly, and seal it with a finish coat that protects against future fading. DIY re-dyeing on a jacket you value is a high-risk project: color matching is difficult, and an uneven application is nearly impossible to correct without stripping the entire jacket.
How do you handle color transfer and fading?
Color transfer, where dye from the jacket migrates onto light-colored clothing or upholstery, usually indicates that the leather’s surface finish has worn thin or that the jacket was not properly sealed after dyeing.
A leather finish or sealant product applied over the affected area can slow further transfer. Clean the jacket first, allow it to dry, then apply the sealant according to the product instructions. For severe transfer, a professional can strip and re-dye the panel and apply a proper topcoat.
Fading from color transfer is distinct from UV fading. If a specific area has lost color because dye migrated out, a touch-up with a matching leather colorant can restore the panel. Test the colorant on a hidden area first, and apply it in thin, even layers rather than one heavy coat.
How should you maintain zippers, buttons, and other hardware?
Hardware is often the first part of a leather jacket to show neglect, and it is the easiest to maintain.
Zippers: run a dry cloth along the teeth after wet exposure to prevent corrosion. A small amount of zipper lubricant or even a graphite pencil rubbed along the teeth keeps the mechanism smooth. If a zipper begins to stick, address it immediately — forcing a stiff zipper stresses the leather around the pull and can cause tearing.
Snaps and buttons: wipe with a dry cloth after each wear. For tarnished metal hardware, a small amount of metal polish applied with a cotton swab and kept strictly off the surrounding leather can restore the finish. Mask the leather around the hardware with tape before applying any metal product.
Buckles and D-rings: check periodically for stress cracks in the leather around attachment points. These areas bear the most mechanical load and are the first to show wear. A leather conditioner applied around (not over) the hardware keeps the surrounding hide flexible.
Why careful leather care is the most underrated investment you can make
There is a tendency to treat leather jacket care as optional, something to think about when the jacket already looks tired. That instinct gets it backward. A jacket maintained from the first week it is worn will still look exceptional a decade later. One neglected for two years may be past the point where any professional can fully restore it.
Leather is a crafted material with a finite capacity for recovery. Every crack that forms, every stain that sets, every season stored in a plastic bag represents a small, cumulative loss that compounds. The care habits described in this guide, tested on a hidden area, blotted rather than rubbed, conditioned on a schedule, stored on a padded hanger, are not elaborate. They take minutes. What they protect is years.
At Mytotaltake, we believe that high-end fashion and premium materials deserve the same deliberate attention you give to any lasting investment. A leather jacket cared for properly becomes heirloom-worthy. One treated carelessly becomes a cautionary tale. The choice is made in the small moments, not the dramatic ones.
Elevate your leather care with Mytotaltake

A leather jacket is only as good as the care it receives. Mytotaltake curates premium lifestyle guides and designer accessories to help you protect and enjoy every investment piece in your wardrobe. Explore our full collection of luxury care resources and premium goods at Mytotaltake.
Sources
The following sources informed this guide and offer additional depth on specific aspects of leather jacket maintenance:
- How to Clean a Leather Jacket at Home
- How to Wash a Leather Jacket Without Ruining It
- How to Clean a Leather Jacket So That It Lasts Forever
- How to Clean Your Leather Jacket: Maintenance & Care | Harley-Davidson USA
- How to Waterproof Leather Jackets, Boots, and Shoes for Complete Rain Protection – Tannery Talk
For complex staining, structural damage, or restoration of vintage and designer pieces, consult a certified leather care specialist in your area. A local dry cleaner with leather experience or a dedicated leather restoration studio is the appropriate resource for anything beyond routine home maintenance.











Leave a comment