Your Home Decor Styling Workflow Made Simple
Walking into a room that feels expensive but somehow wrong is one of the most common frustrations homeowners face. You bought beautiful pieces, but the room still feels off. The problem is rarely about taste. It’s about process. A structured home decor styling workflow removes the guesswork, saves you from costly impulse purchases, and produces rooms that feel intentional rather than assembled. Whether you’re starting from scratch or refreshing a tired space, what follows is the exact sequence that separates a polished, cohesive room from one that simply collects things.
Table of Contents
- Key Takeaways
- What you need before starting your home decor styling workflow
- The step-by-step home decor styling workflow
- Common pitfalls in the home decor styling process
- How to verify and refine your styled space
- My honest take on home decor styling workflows
- Bring your workflow to life with curated decor
- FAQ
Key Takeaways
| Point | Details |
|---|---|
| Plan before you purchase | 70% of redesign regrets come from buying accents before finalizing layout. |
| Budget with a cushion | Set a realistic total and reserve 10 to 20% as contingency to avoid stalling mid-project. |
| Measure before ordering | People overestimate room size by 15 to 25% on average, making precise measurement non-negotiable. |
| Layer in sequence | Anchor furniture comes first, then secondary pieces, lighting, textiles, and finally accessories. |
| Refine over time | Live with your styled space for at least two weeks before making final edits. |
What you need before starting your home decor styling workflow
Getting the right results depends on showing up prepared. Skipping the setup phase is where most DIY decorating projects quietly begin to fail.
The tools you actually need
You need a reliable tape measure and, ideally, a laser measure for larger rooms. Studies show people overestimate room dimensions by 15 to 25% on average, which means that sofa you love in the showroom may block your entire walkway at home. A free floor planning app like Planner 5D or RoomSketcher lets you test furniture arrangements before anything is ordered or moved.
Beyond measuring tools, here is what to prepare:
- A clearly defined budget with a 10 to 20% contingency built in from day one
- A mood board (Pinterest boards and saved Instagram posts work well) capturing colors, textures, and styles that genuinely excite you
- A printed or digital room dimensions sheet covering floor area, ceiling height, window placements, and door swing directions
- A basic understanding of the 60-30-10 color rule: 60% dominant color, 30% secondary, 10% accent
Key design principles worth knowing before you start
| Principle | What it means in practice |
|---|---|
| Color palette | Choose one dominant, one secondary, and one accent color before buying anything |
| Spatial clearance | Maintain 30 to 48 inches for main walkways and 14 to 18 inches between sofa and coffee table |
| Layering | Build from large to small: furniture first, then textiles, then accessories |
| Mood board purpose | Mood boards define aesthetic territory before you spend, not after |
Pro Tip: Create your mood board before you set foot in any store or open any shopping tab. It acts as a filter, not a wish list. If a piece does not match the board, it does not belong in the room.
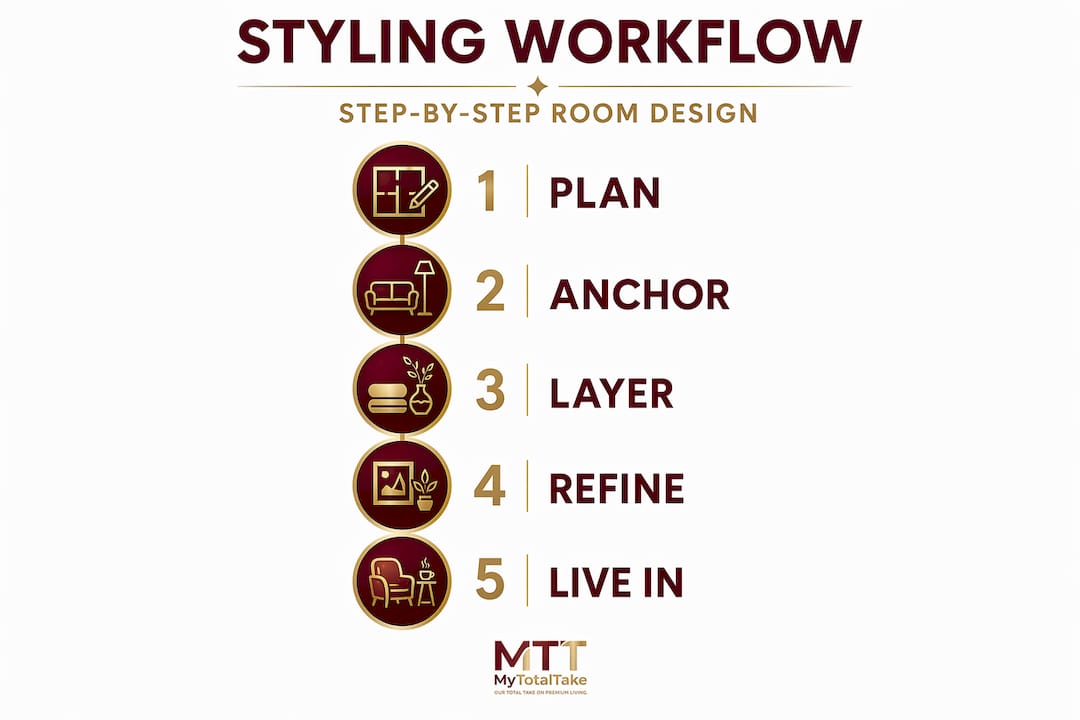
The step-by-step home decor styling workflow
A professional decorating workflow follows 10 logical steps from purpose to accessories, and skipping the initial brief or budget is the single most common failure point. Here is that sequence, adapted for discerning homeowners.
-
Define the room’s purpose. A guest bedroom used twice a year needs different decisions than a home office you use daily. List every activity that will happen in the space before making a single design choice.
-
Set and allocate your budget. Financial planning with contingency is the most critical step most people skip. Decide your total spend, then split it: roughly 40 to 50% on anchor furniture, 20 to 30% on secondary pieces and lighting, and the remainder on textiles and accessories.
-
Identify your style and build your mood board. Scroll saved images and notice patterns. Do you gravitate toward warm neutrals with natural wood? Cool grays with polished metal? Your modern decor inspiration should converge into a clear visual direction. Commit to it.
-
Take precise measurements and map your floor plan. Measure everything: floor dimensions, ceiling height, window sill heights, outlet locations. Sketch a scaled floor plan or use a digital tool. This is where most people get humbled. A room that looks spacious in photos often accommodates far less than expected.
-
Choose your color palette using the 60-30-10 rule. Pick paint or wallpaper for walls before ordering furniture. Light changes color throughout the day, and a swatch on your wall at noon will look completely different at 7 PM. Test real samples in the actual space.
-
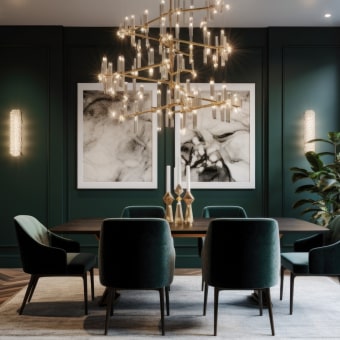
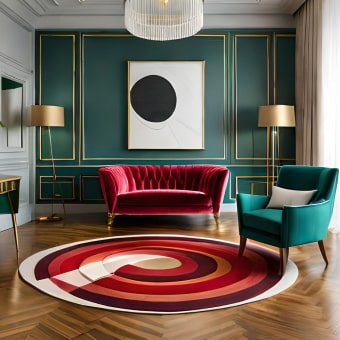
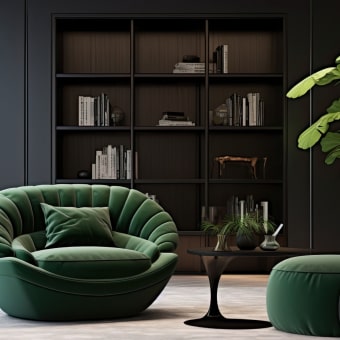
Select and purchase anchor pieces first. Your sofa, bed frame, dining table, or primary seating is the structural backbone of the room. Everything else orbits around it. Choose these pieces with care; they are the ones worth spending more on for lasting quality and timeless design.
-
Add secondary furniture and lighting. Side tables, accent chairs, shelving, and floor lamps come next. Good lighting requires three layers: ambient (general illumination), task (functional light for specific activities), and accent (light that draws the eye to features). Skipping any one layer flattens the entire room.
-
Layer in textiles. Rugs, curtains, throw pillows, and blankets add warmth and define zones within a room. A rug should be large enough that at least the front legs of all major seating rest on it. Curtains hung close to the ceiling and extending beyond the window frame make any room feel taller and more refined.
-
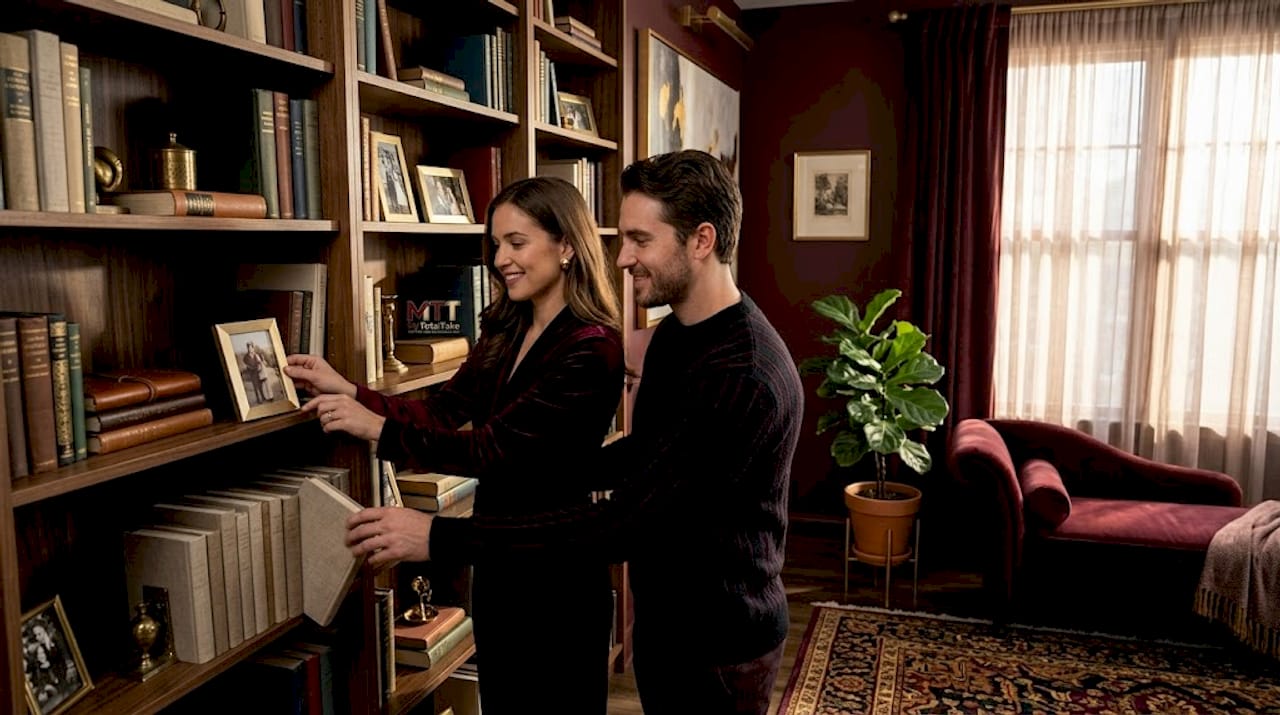
Add art and accessories last. Group objects in odd numbers, vary heights, and repeat at least one material or color across groupings for visual cohesion. Art hung too high is one of the most common finishing mistakes. Eye level means the center of the piece at roughly 57 to 60 inches from the floor.
-
Edit ruthlessly. Once everything is placed, remove at least 20% of what you put out. Restraint is the hallmark of a well-styled room. A few considered pieces outperform a crowded shelf every time.
Pro Tip: When ordering large furniture, use painter’s tape on the floor to mark exact dimensions before the piece arrives. It takes five minutes and prevents the expensive mistake of discovering a sofa blocks a door.
Common pitfalls in the home decor styling process
Even with a clear plan, certain habits derail an otherwise sound decorating workflow. Recognizing them early protects both your budget and your final result.
The most expensive mistake is starting with accessories. Candles, vases, and decorative objects are satisfying to buy. They are also meaningless without the right furniture as a backdrop. Accessories purchased before your anchor pieces rarely survive the edit.
Other frequent errors include:
- Ignoring spatial clearances. The recommended clearance between a sofa and coffee table is 14 to 18 inches, and main walkways need 30 to 48 inches for comfortable passage. Ignoring these numbers produces rooms that look good in photos but feel cramped in real life.
- Flat lighting. A single overhead fixture with no additional layers creates a clinical, unwelcoming atmosphere. Multiple light sources at varying heights create warmth and depth that no amount of decorative accessories can replicate.
- Inconsistent color. Choosing a beautiful rug and a beautiful sofa that happen to share zero colors creates visual noise. Every piece should share at least one tonal or material connection to something else in the room.
- Skipping the declutter step. Before styling begins, remove everything from the space. Style into a clean room, not around existing clutter. What you do not put back is as important as what you add.
Pro Tip: If your finished room still feels wrong, walk back through the ten steps and identify the earliest point where you deviated. Nine times out of ten, the problem started before step five.
How to verify and refine your styled space
Once a room is styled, most people stop. The best results come from treating the first arrangement as a draft.

Start by checking your spatial clearances against the recommended room dimensions. Walk through the space naturally. Open every door. Pull out every drawer. If anything feels tight, adjust furniture placement before adding accessories.
Then assess your lighting across different conditions:
- Morning natural light
- Afternoon sun at its peak angle
- Evening with only artificial lighting active
Each condition will reveal different problems. A lamp that looks warm and inviting at night may produce a glare that makes reading uncomfortable during the day.
Assess color harmony by photographing the room in black and white. Without color as a distraction, tonal imbalances become obvious. If the image looks muddy or chaotic, you likely need to remove a texture or redistribute a color across the room.
Room design apps and AI visualization tools now allow you to photograph your actual space and digitally swap furniture, colors, and layouts before making changes. This technology has genuinely transformed how thoughtful decorators approach home decor planning ideas without committing to purchases they might regret.
Finally, live with the space for two weeks before making any major adjustments. What bothers you on day one may feel natural by day ten. What still bothers you on day fourteen is worth changing.
My honest take on home decor styling workflows
I’ve spent years watching people decorate the same rooms twice, sometimes three times, because they skipped the planning phase. The emotional pull of a beautiful object is real, and I understand it completely. But I’ve seen it cost people thousands of dollars in mismatched purchases that ended up in storage.
What I’ve learned is that a workflow does not constrain your creativity. It protects it. When you define your style and commit your palette before walking into a single store, every subsequent decision becomes faster and more confident. The impact of thoughtful decor on daily life is not trivial either. Rooms that feel right affect your mood, your energy, and even your productivity in measurable ways.
The single mindset shift that changed everything for me was treating mood boards as binding, not aspirational. Not a folder of pretty images, but a contract with yourself about what belongs in the room. When you hold every potential purchase up against that board, the wrong choices become obvious before you spend anything.
My practical advice is this: be patient with step four, the measurement and floor plan phase. It feels tedious. It is also the step that prevents every expensive furniture return and every frustrating rearrangement. Do it once, do it precisely, and the rest of the workflow flows with surprising ease.
— Lysander
Bring your workflow to life with curated decor
A well-executed home decor styling workflow is only as good as the pieces you put into it. At Mytotaltake, every product in our high-end home decor collection has been selected for craftsmanship, longevity, and that rare quality of fitting beautifully into a considered room. We focus on anchor pieces that hold their visual weight across years and style evolutions, not just seasonal trends.
When you are ready to select your anchor furniture, our guide on designer furniture value explains exactly what separates a piece worth investing in from one that simply looks the part. Our curated collections are built for the discerning shopper who has done the planning and knows precisely what they are looking for. Browse at your own pace or reach out for personalized guidance. We offer free returns and fast delivery so your workflow never stalls waiting for the right piece.
FAQ
What is a home decor styling workflow?
A home decor styling workflow is a step-by-step process that guides you from defining a room’s purpose through budgeting, style selection, furniture placement, and accessory finishing. Following the correct sequence prevents costly mistakes and produces cohesive, satisfying results.
Why should I build a mood board before buying anything?
Mood boards define aesthetic territory before you spend, ensuring every purchase connects to a unified visual direction rather than collecting pieces that look good individually but clash together.
How much budget contingency should I set aside?
Reserve 10 to 20% of your total design budget as contingency. This buffer prevents the project from stalling when unexpected costs arise, such as repainting after a fabric choice changes or adding a missing lighting layer.
What order should I style a room in?
Start with anchor furniture, then secondary furniture and lighting, then textiles like rugs and curtains, and finish with art and accessories. Reversing this order is the most common and most expensive decorating mistake.
How do I know if my styled room is working?
Walk the space for natural flow, check your clearances against published standards, assess lighting across morning, afternoon, and evening conditions, and live with the arrangement for at least two weeks before making final judgments.


Leave a comment